HOT CHOCOLATE COOKIE CUPS

I checked the weather and read that there are multiple Alberta Clippers on the way. I’m not even sure how that is possible but it looks like several of the northern states could have blizzards. For those of you who don’t live in a northern state, Canada or the North Pole, the definition of a blizzard is: A severe snowstorm caused by strong, sustained winds of at least 56 km/h (35 mph) and lasting for a prolonged period of time – typically three hours or more. Sound like fun? Not so much!
What do we do during a blizzard or severely cold weather? We stay home and keep warm, of course. We also bake, play board games, drink hot chocolate and get cabin fever. Once again, for those of you who live in warm climates, cabin fever is: irritability, listlessness, and similar symptoms resulting from long confinement or isolation indoors during the winter.
But it’s not all bad, definitely not! I love living in Minnesota. On the days that are warmer, we enjoy our time outdoors. We go sledding, skiing, snowboarding, and ice skating. We build snowmen, have snowball fights and go for walks in the snow. If the weather gets really warm, like 38 degrees last Sunday, a good percentage of native Minnesotans walk around without their winter coats! Sounds crazy but 38 degrees feels warm when you compare it to -21!

hot chocolate cookie cups recipes
These Hot Chocolate Cookie Cups are perfect for cold winter days. I made them for the first time in the Pillsbury Test Kitchens! I first imagined making these cookies at the beginning of December. I was doing a little brainstorming about recipes to make in January and February. What came to mind was cold weather and hot chocolate. I wanted to try making a hot chocolate cake, hot chocolate cheesecake and hot chocolate cookie cups so I made a list on my iPhone. Then, when I was at the Pillsbury Test Kitchens and was given the challenge of making my own cookie, I remembered my list and decided to give these a try. These 4 pictures are from my day in the test kitchens.
Here are more of my pictures from my day with the Pillsbury Holiday Bloggers. While in the test kitchens, we made appetizers and then cookies. You can view the pictures in the slideshow above (if it doesn’t show up right away, refresh the page), or go directly to the album to see my photo captions and to leave comments by going here: Pillsbury Test Kitchens

To make the hot chocolate cookie cups, I started by putting 1 tablespoon of Pillsbury sugar cookie dough into greased mini muffin tins. (Update – an optional step would be to roll the sugar cookie dough balls in granulated sugar before putting them into the mini muffin tins to help prevent sticking.) I baked them for 12-14 minutes at 375 degrees. Allow the cookies to cool completely in the pan before gently removing them. Next, I made chocolate ganache by bringing the whipping cream to a boil. After quickly stirring in hot chocolate mix, I poured the hot cream over semi-sweet chocolate chips and let it sit for 3 minutes. Then, I stirred the mixture until the chocolate chips were melted and the ganache was smooth.

I broke off the loops on some mini pretzels to use as handles. I melted a little white chocolate and used it to attach the pretzel handles to the cookie cups.
Spoon the chocolate ganache into the cookie cups and top with mini marshmallows. Enjoy the Hot Chocolate Cookie Cups with a cup of real hot chocolate!

- 1 package Pillsbury Sugar Cookie Dough
- ½ cup heavy whipping cream
- 2 tablespoons hot cocoa mix
- 1 cup semi-sweet chocolate chips
- ½ cup white chocolate chips
- 12 mini pretzels
- 1 cup Jet-Puffed Mallow Bits
- *optional – granulated sugar
- Preheat oven to 375 degrees.
- Put 1 tablespoon of the sugar cookie dough into 24 greased mini muffin tins.
- *Update – an optional step would be to roll the sugar cookie dough balls in granulated sugar before putting them into the mini muffin tins to help prevent sticking.
- Bake for 12-14 minutes at 375 degrees. Allow the cookies to cool completely in the pan before gently removing them.
- Make the chocolate ganache by bringing the whipping cream to a boil.
- Stir in the hot cocoa mix.
- Pour the hot cream over the semi-sweet chocolate chips and let it sit for 3 minutes. Then, stir until the chocolate chips are melted and the ganache is smooth.
- Break off the loops on some mini pretzels to use as handles.
- Melt the white chocolate and use it to attach the pretzel handles to the cookie cups.
- Spoon the chocolate ganache into the cookie cups and top with mini marshmallows.
- For best results, store the hot chocolate cookie cups in the refrigerator.
December 2014 Update with Additional Notes, Photos & a Video:

Question #1 How To Form Hot Chocolate Cookie Cups – This recipe can be made with or without forming the sugar cookie dough in the pan.
- Leave the dough as a ball and it will puff up while baking and sink when removed from the oven, leaving a “dip” for the ganache. This is the EASIEST method and it is how I made my Hot Chocolate Cookie Cups.
- If you make an indentation in the sugar cookie dough ball before baking, it will still puff up while baking and sink when removed from the oven, leaving a “dip” for the ganache.
- The straighter the sides of the mini muffin pan, the straighter the side of the cookie cups will be.

- To make a bigger “cup” to fill with ganache, you can use a small cup (like a medicine cup) to make an indentation in each cookie, after removing them from the oven. WARNING – when you press the cup into the soft cookie dough it can pull away or tear the cookie dough on the sides of the cup leaving small gaps.
- You may need to make additional ganache if using the method.
Question #2 Cookies Overflow & Spread – Use a small cookie cutter (mine is 2 inches in diameter) to cut away the extra cookie immediately after taking them out of the oven.
Question #3: Cookies Stick In Pans -I’ve made sugar cookie cups using Pillsbury Sugar Cookie dough many, many times using different pans, from different brands, in different kitchens and have not had issues with them sticking, but several of you have. So, I wanted to offer some suggestions and share this video I made while making Eggnog Cookie Cups.
- When I made the Eggnog Cookie Cups, I rolled the sugar cookie dough in a granulated sugar and cinnamon mixture before placing it in the cups. As a test, I did some with the sugar and some without. The ones with the sugar came out of the pan easier than with ones without the sugar.
- If the cookie cups are only a little bit stuck, try using a thin knife to gently pry up the edges.
- Remember, mini muffin pans vary by brand, materials used to make the pans and the age of the pan. If determined to make this recipe, but have issues with the cookies sticking, you could try a silicone mini muffin pan or even try mini cupcake liners.
S’mores Rice Krispies Recipe

As s’mores week comes to an end, I wanted to share a Rice Krispie Treats recipe. Isn’t it crazy how many different kinds of Rice Krispie bars you can make? Before you even add extra ingredients, you can make the bars more hard and crunchy or soft and gooey. Then, you can pretty much add and of your favorites ingredients or flavors. I wanted to get the flavor of campfire s’mores, so I used toasted marshmallows instead of plain ones. Rather than use graham crackers, which would probably get soggy, I used mini Tedd Grahams. And of course, a s’more isn’t complete without Hershey’s bars!

Start by toasting mini marshmallows under the broiler on a baking sheet lined with parchment paper. Set aside to cool.

Then, cut up or chop 2 Hershey’s milk chocolate bars, set aside.

Melt the butter in the microwave for about 30 seconds. Add 3 cups mini marshmallows and stir to coat them with the melted butter. Return to the microwave for 45 seconds, stir until smooth. Return to the microwave for 10-15 seconds longer, if necessary. Mix in Rice Krispies.

Mix the mini toasted marshmallows, chopped Hershey’s bars and mini Teddy Grahams.

Press into a greased 9 inch square pan.

Allow the bars to cool before cutting into squares.

Enjoy the soft, gooey combination of two of your favorite treats: S’mores and Rice Krispie Treats!

- 1 cup mini marshmallows
- 3 tbsp butter
- 3 cups mini marshmallows
- 3 cups Rice Krispies
- 2 Hershey’s bars, chopped
- 1 cup mini Teddy Grahams
- Start by toasting ½ cup of mini marshmallows, under the broiler, on a pan lined with parchment paper. Set aside to cool.
- Cut up or chop 2 Hershey’s milk chocolate bars, set aside.
- Melt the butter in the microwave for about 30 seconds.
- Add 3 cups mini marshmallows and stir to coat them with the melted butter.
- Return to the microwave for 45 seconds, stir until smooth. Return to the microwave for 10-15 seconds longer, if necessary.
- Mix in Rice Krispies.
- Mix in the mini toasted marshmallows, chopped Hershey’s bars and mini Teddy Grahams.
- Press into a greased 9 inch square pan.
- Allow the bars to cool before cutting into squares.
Recipe adapted from: Crispy S’more Bars
Also check out these s’more recipes:

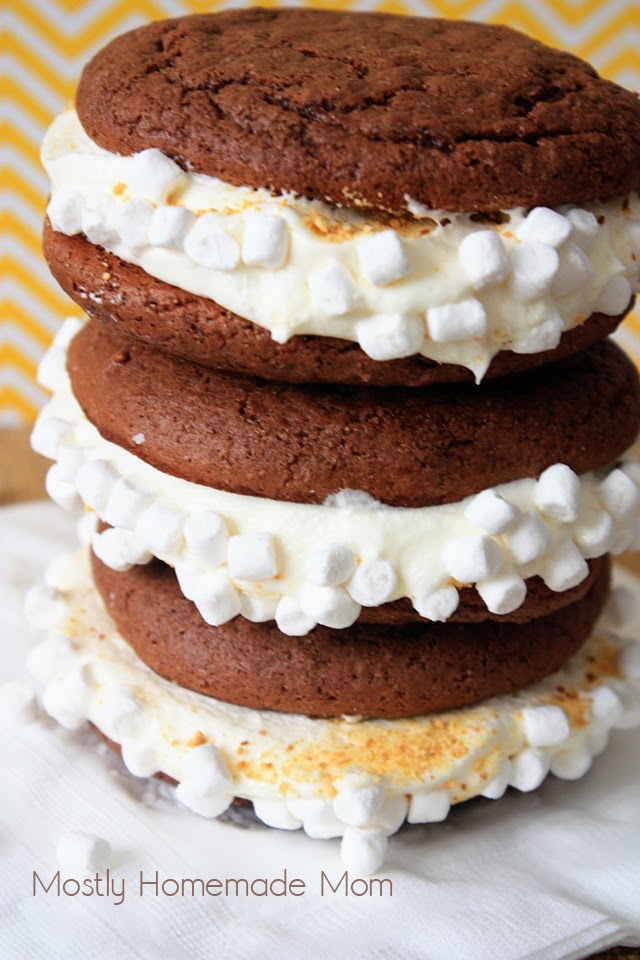
Smores Whoopie Pies


